If you are new to HOASTI, we would recommend you read the help documentation in conjunction with the HOASTI demo – a fully functioning test version of the HOASTI web app, that allows you to “test drive” the fantastic features of HOASTI to see how it might benefit you. To read more and try the demo please click here.
Once you have seen what HOASTI can do, you will no doubt wish to sign up and get your FREE account! Please click here to register.
Once you’ve entered your registration details and confirmed that you have read our terms and conditions, you will be sent an email with a link to verify your email account (please check your Spam folder if you cannot locate the email).
Once verified, you will be prompted to set at least one security question (you must do this to be able to use any of the features of the site).
Once you have registered your account and set your security question(s), it’s time to add some data! There are two methods in which to do this:
When inputting data manually, it is important to note the order in which to enter the initial data, these steps are detailed below.
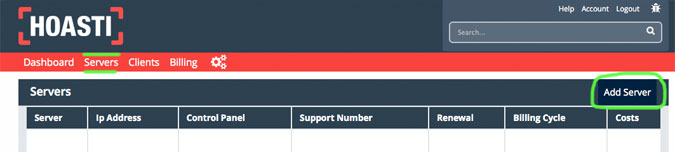
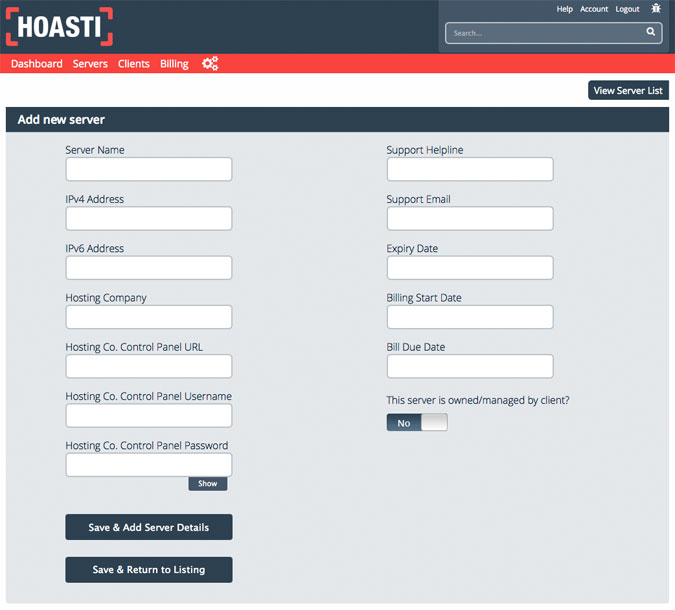
We suggest that you add all server details first, as when adding websites, you will need to specify which server they are on.
To do this:
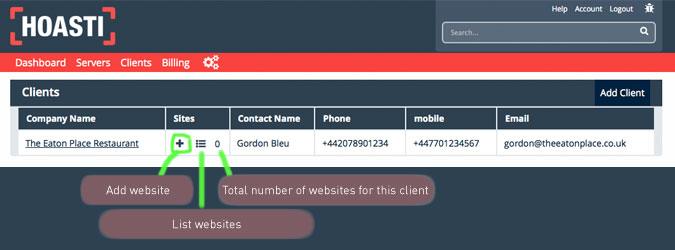
You need to add a client before you can add a website (if it is a website that belongs to you, you will be the client).
You add a client in the same way as adding a server:

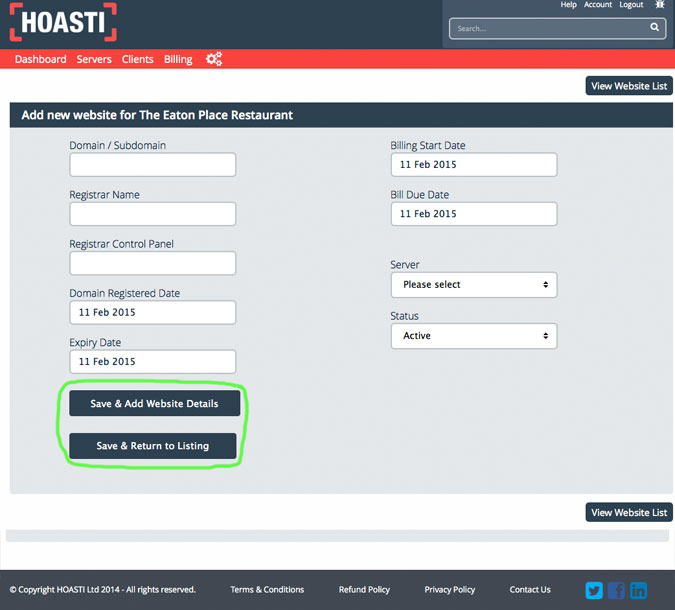
Once you have set up your client details, you can add websites.
To do this: